Are you wondering how to make a stencil with Cricut? And where to start. Don’t worry; you have come to the right place. This blog will cover how to make a stencil with Cricut Setup at home. There are several ways to make a stencil with Cricut — more ways to use them. You can use stencils for a professional-level finish to DIY home decor projects, such as painted pillows, tea towels, tote bags, wooden signs, and custom T-shirts.
The secret to replicating designs without starting from scratch is a small tool called a reusable stencil. You can cut out your design once or even cut out a few of your favorites at the same time, and then you can reuse stencils over and over again to create beautiful things for home decorations. This is a must-have for every craft lover — Cricut Guide: How to Make a Stencil with Cricut through step-by-step instructions below.
Which Cricut Machine Is Best To Use For Stencils?
You will be happy to know that all Cricut machines available in the market can cut stencil materials.
The Cricut Explore Series and Cricut Maker can cut all stencils, including stencil vinyl, mylar sheets, and freezer paper. With a standard-sized mat, you can make stencils 11.5″ wide and 11.5″ tall. Or, use a larger mat to make a stencil that is 11.5″ wide and 23.5″ tall.
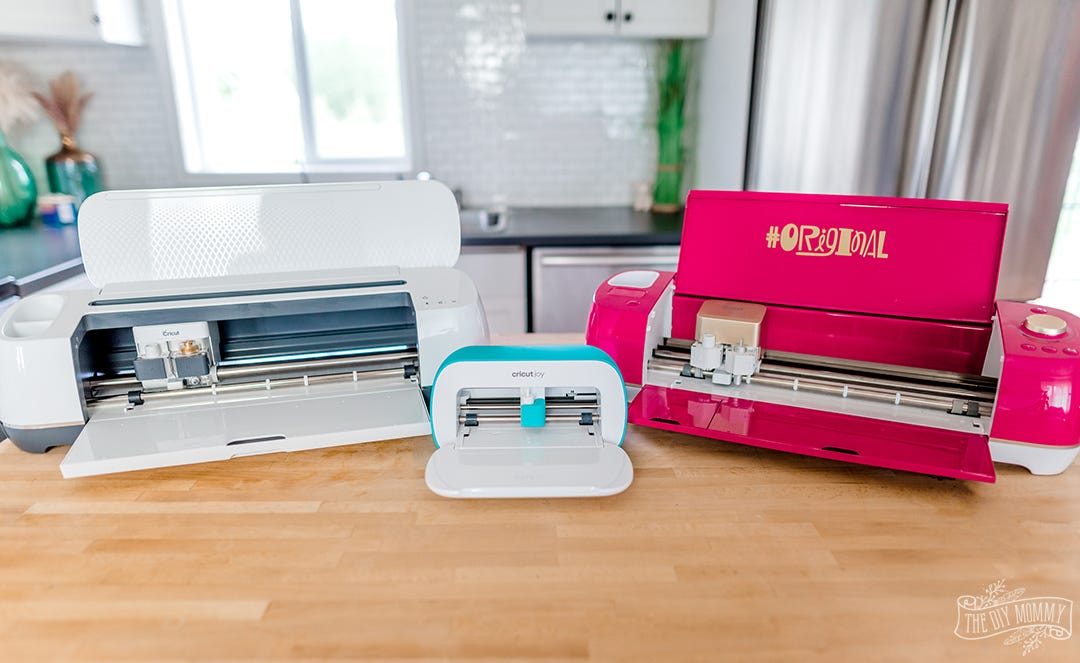
The Cricut Joy can easily cut stencil vinyl, removable vinyl, and freezer paper. Cricut Joy can also cut simple designs from stencil film sheets, but you may need to make several passes. You can cut the stencil to 4.5″ wide and 6.5″ long with a standard size mat.
Cricut Guide: How To Make a Stencil with Cricut
In order to make a stencil with Cricut, kindly follow the steps given below:
Step 1: Stencil Design at the Cricut Design Space
First, you have to select the image you want to stencil. Choose a design from the Cricut Access library, upload a stencil SVG file, or create your own stencil design in the Cricut Design Space.
Find Cricut Access
You can search images at Cricut Access for stencil projects. To find good stencil images, search “stencil” or “pattern.” For this project, we will use a free image called “Lattice Pattern Overlay” from the “Edge to Edge” image set. We repeated the images and stitched them together to make one larger design.

Upload your own Picture
You can even upload your own stencil image to Design Space.
Design a Stencil in the Design Space
Another option is that you can design your own stencil image in the Cricut Design Space. You can create a stencil of a monogram, a few letters, a short quote, an illustration, or any mix of those elements.
If you want to reapply and reuse a stencil, remember to keep all parts of the stencil image connected. All the design parts must touch if you cut the stencil as one solid piece.
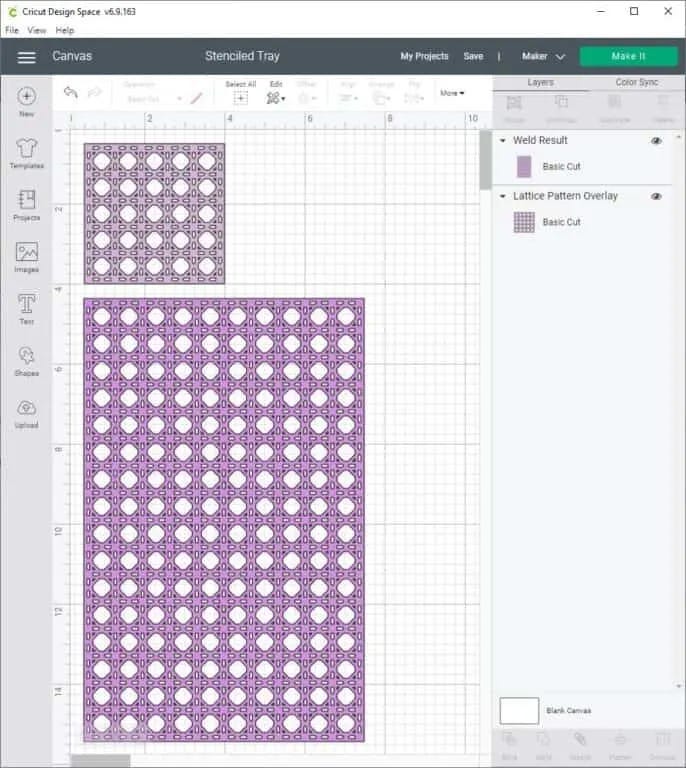
Step 2: Cut Stencil Vinyl
Once you have completed the stencil design, you can prepare to cut the stencil vinyl.
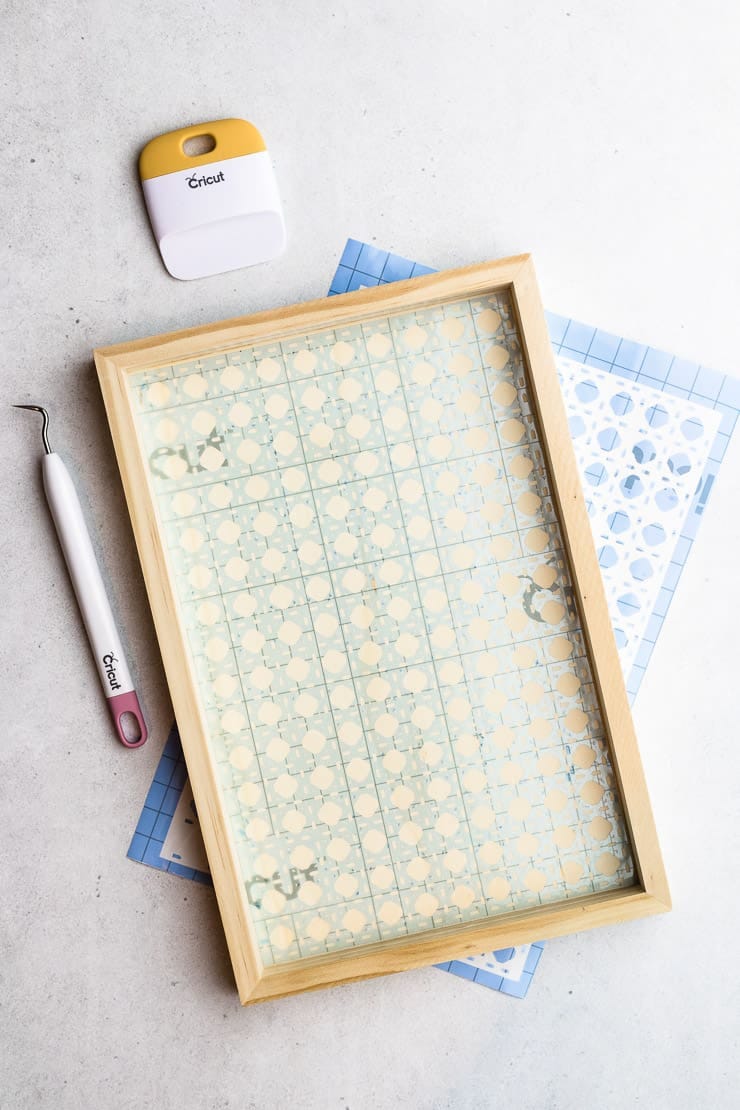
First, put the stencil vinyl on a LightGrip or StandardGrip (Cricut cutting mat.) We suggest you roll your stencil vinyl with a Brayer tool to ensure it’s flat, smooth, and attached well to the mat.
Next, click the button to load the mat into your Cricut machine.
Afterward, go back to the Design Space, and send your file to the machine. Here’s how to do it:
- First, tap on the green “Make it” on the upper right side.
- On your next Prepare screen, check that your design looks correct. If so, tap Continue.
- On your next Make screen, tap Browse All Materials and select Stencil Vinyl.
Note: If you’ve a Cricut Explore Air, change the Smart Dial to Custom to access the Browse All Materials menu.
Then, you’re ready to cut out your design. Keep in mind to check the fine-point blade is loaded into your machine, and tap the Go button to cut out your design.
When you’ve completed cutting, take off the mat. Now it’s time to move your design.
Step 3: Apply Stencil Vinyl
Ready to apply stencil vinyl to the surface of your project? Here’s how:
- First, ensure your project surface is dry and clean. Then, put your stencil vinyl on the project surface. Take your time to apply it exactly as you want the final image to appear.
- Use the Cricut Setup scraper tool or old gift card to burn the stencil vinyl onto the project surface. Start burning in the center, then move to the picture’s edges. Burning the edges creates a good seal and stops your paint from bleeding under the edges. Since stencil vinyl is transparent, you’ll be able to see where it’s making good contact, where bubbles may occur, or where you need to burn more.
If you’re using transfer tape, you follow the same burning steps. After burning, carefully peel off the transfer tape at a 45-degree angle, leaving the stencil vinyl on your project surface.
Step 4: Paint your Stencil Vinyl
You’ve the stencil vinyl applied; now it is time to paint your design.
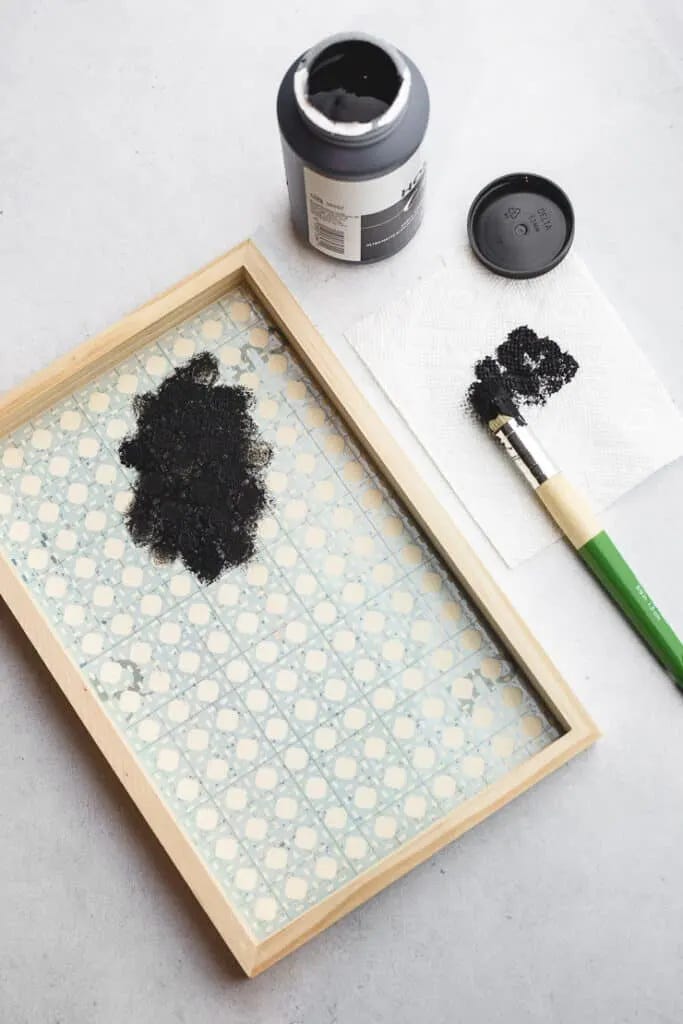
Use a paintbrush (stencil brush) to apply a light coat of paint over the stencil vinyl. The paint will pass through the cut areas of your stencil vinyl, moving the design to your project surface.
You can apply more thin coats of paint as needed for more coverage. Remember it is better to apply 3-thin coats than a 1-thick coat to stop the paint from bleeding.
After the paint is dry, carefully remove your stencil vinyl. You can now transfer your stencil vinyl to a new area and reuse it.
If your stencil stretches or tears while removing, you can use the Cricut machine to cut another stencil vinyl.
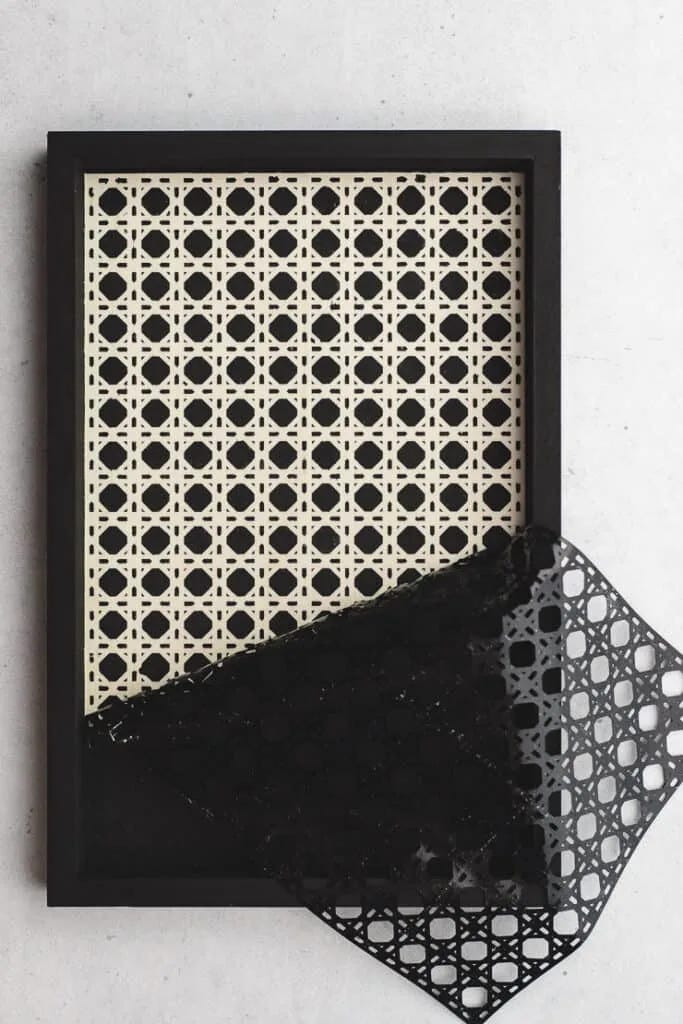
So, the above instructions are the complete process of how to make a stencil with Cricut at home.
SOURCE: How To Make a Stencil with Cricut? [Step By Step Instructions]


.jpg)


0 Comments