Cricut Design Space - cricut.com/setup

Cricut machine is an electronic cutting machine to cut, score, sew and customize materials. Not an average cutting machine, but it is an advanced innovative technology introduced to operate on figures like wood and fabric.

  • Home
  • Contact Us


Cricut is one of the newest and most amazing electronic cutting machines. It helps you create an awesome design, professional DIY, and many other projects. This blog will teach you everything about how to use Cricut Maker. All you need to do is keep your eyes on every blog section.

This blog will teach you what you require, how it works, the best tips, and more. We’ll define every basic and important point that helps you while doing the tasks. Consider this blog a complete guide for beginners as well as also for some professionals.

So, without wasting time, let’s navigate to the next section of this blog.

Read More...www.cricut.com/setup login

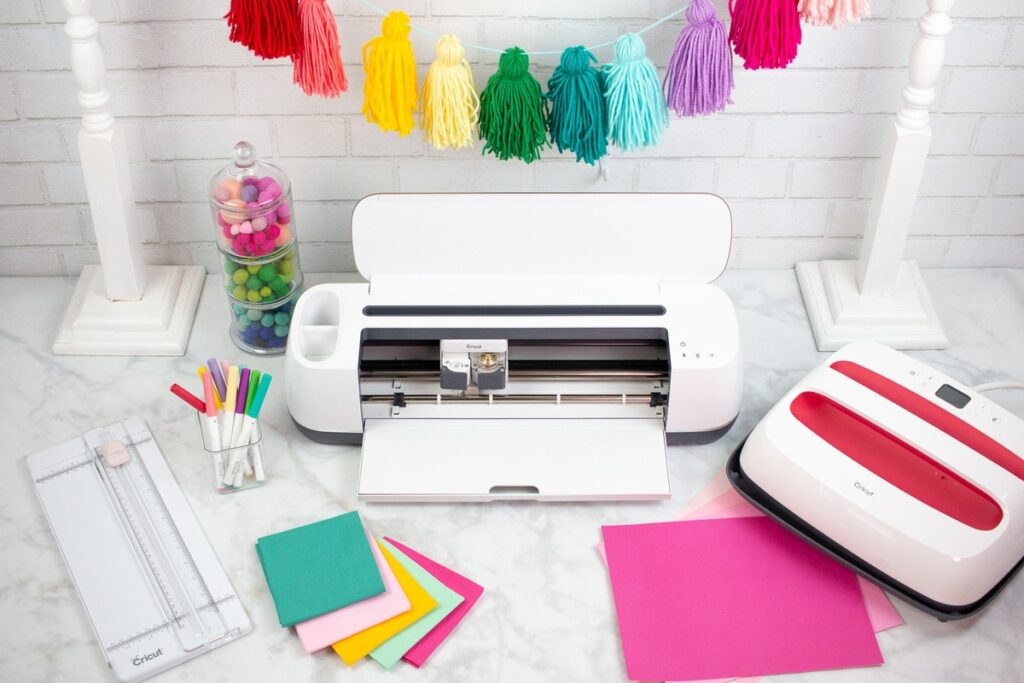
What is a Cricut Maker?

Cricut Make is one of the easiest and simplest to use. This machine can easily cut multiple huge types of materials, such as card stock, paper, heat transfer vinyl, and adhesive vinyl. Basically, it is a type of cutting machine that works with the help of electricity.

Materials & Tools Require While Using the Cricut Maker

cricut.com/setup

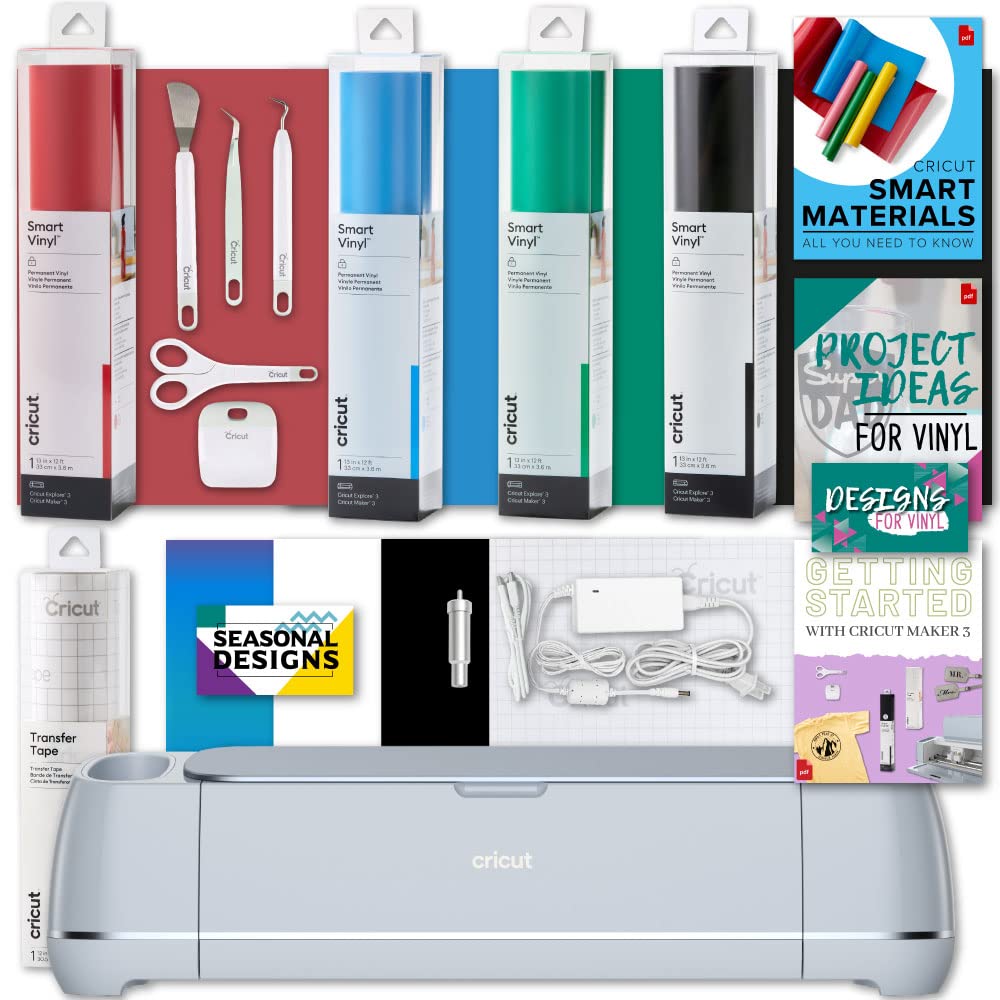
A Cricut Maker can cut various types of materials in just a little time, no matter whether it is thin or hard. Below are a few of the most useful and popular varieties of cutting materials. Here are the materials:

  • Chalkboard Vinyl
  • Cardstock
  • Construction Paper
  • Aluminum Foil
  • Butcher Paper
  • Iron-On Vinyl
  • Faux Leather
  • Cardboard
  • Craft Foam
  • Felt
  • Glitter Cardstock
  • Copy Paper
  • Natural Wood Veneer
  • Printable Sticker Paper
  • Infusible Ink Sheets
  • Smart Materials
  • Stencil Film

If you complete the first project with Cricut Maker. Then you also need to practice some other projects, and you need to buy a few more materials. Given below is the data:

  • If you want to do vinyl projects, buy a few iron-on types of vinyl, adhesive vinyl, and transfer tape.
  • If you need to do vinyl projects, buy cardstock, scrapbooking paper, and vellum.
  • If you like to do Infusible Ink projects, shop for Infusible Ink markers, sheets, and a suitable blank item.

You should always have these most basic tools while learning how to use Cricut Maker.

  • Blades
  • Mats
  • Hand Tools
  • Pens
  • Heat Press
  • Scissor

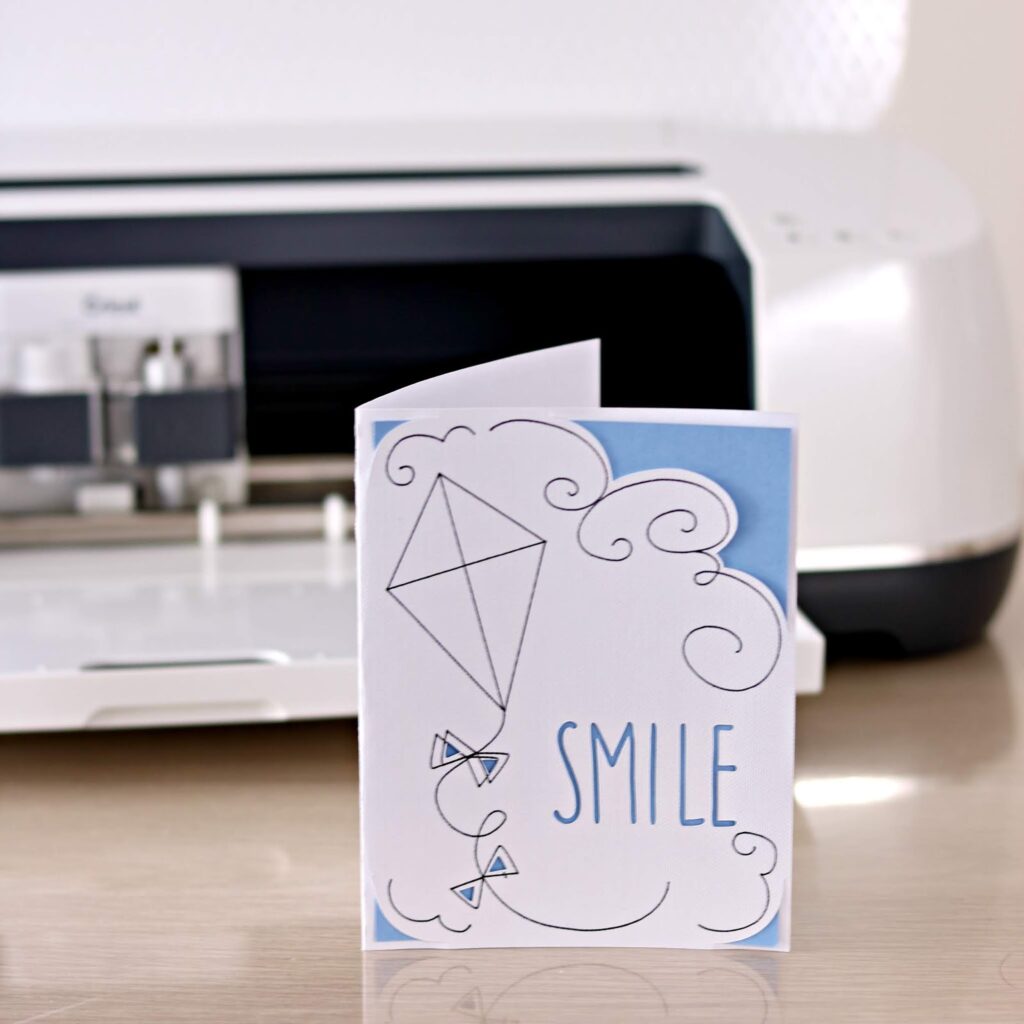
Types of Projects you can Make with Cricut Maker

If you’re still a beginner and are finding out how to use Cricut Maker, there are various types of crafts projects that you can make with the machine. Here are a few of the project’s names:

  1. Handmade Greeting Cards
  2. Iron-On Onesies and T-Shirts
  3. Party Decorations and Paper Banners
  4. Monograms for a Mug, Tumbler, or Cup
  5. Leather Bracelets and Earrings
  6. Custom Wooden Sign
  7. Custom Stickers
  8. Address Invitations and Envelopes
  9. Stencils for a Painted Doormat

10 Things you Need to Know Before Start Doing the Project

There are a few things that you will always remember while making the project with the Cricut Maker machine. In this section of this blog, we will teach you ten important points that will help you while making the projects. Here are the ten important points:

  1. Every crafter requires a dedicated space of craft.
  2. The organization of your kitchen is about to get much more worthy.
  3. Always have some extra Cricut cutting mats.
  4. You will buy all the necessary accessories and tools.
  5. Doing the wedding is sometimes addictive.
  6. Go for the removable vinyl at the initial.
  7. Cricut Design Space is downloaded and installed on your system and signed in with your Cricut ID.
  8. Every maker has the option and is willing to make much more than after cutting and scoring.
  9. Maybe your first project is not much better, or it fails, but don’t worry, try to make another project.
  10. Maybe your kid or child wants to utilize it just as much as you will.

How do I Set Up my Cricut Maker?

cricut.com/setup

Setting up the Cricut Maker is not very tough, but if you don’t know the exact steps, you are stuck in the middle of the process. So, follow all the steps given below one by one. Here are the steps:

For Windows & Mac:

  1. Initially, connect the device and press the power button to switch on the machine.
  2. Now, connect your device to the PC with the help of Bluetooth or the USB cable.
  3. Click on the web browser and type the design.Cricut.com/setup on the given box. And then press the enter button.
  4. Now, download and install the Cricut Design Space on your PC.
  5. You need to create a new account or sign in if you already have an account and go through all the pop-up instructions.
  6. When it prompts to make a test, it means that the setup process is completed.

For Android & iOS:

  1. First, you must plug the power cable into the machine. Now press the switch button to turn it on.
  2. Now, pair the iOS and Android devices to your Cricut Maker via Bluetooth.
  3. Download and install the app of Cricut Design Space app on your device.
  4. Open the app, and create a new account or sign in if you have any Cricut ID.
  5. Touch the menu and tap on the Machine setup.
  6. Choose your Cricut machine model and go through the pop-up instructions to complete the setup process.
  7. Finally, it shows a pop-up message to take a test, which means your process is completed now.

How To Use Cricut Maker For The First Time?

cricut.com/setup

To verify, you first need to take out your machine from the box and then connect it to the PC. Now, sign into the machine to get a free Cricut ID account and download and install the Cricut Design Space. Now, here’s how to use Cricut Maker to make your first design.

  1. Initially, go to the Cricut Design Space and select your design or create your own design.
  2. Now, choose the material and loathe it on your sticky cutting mat.
  3. Next, choose the correct material settings under the Cricut Design Space and send it to the Cricut Maker machine.
  4. To start cutting, hit the flashing button.

Finally, when the device completes the cutting process of your design, then take out the mat and remove the materials from the mat.

SOURCE: How To Use Cricut Maker

This post is all about how to create stencils on Cricut. I have been waiting to share something interesting for a long time. When I come across a Cricut sample, I will share it with you all. I got a sample of Cricut stencil vinyl, so I made this post. Be on the blog till the end. I have tons of information to share. We will see how to create reusable Cricut and one-time stencils in easy steps. Have a look at the materials you can use to make stencils.

What Are The Different Materials To Create Stencils?

I used a graphix sheet when I created snowflake stencils for my window. But I wanted to explore more things and see what would be cheaper. Well, I tested many materials and have concluded that some make the best stencils. Going with your budget is not a bad thing.

Reusable stencils- Clear plastic poster board, acetate sheet/graphix, laminating sheet, and mylar sheets.

One-time stencils – vinyl stencil, contact paper, and Cricut stencil materials.

Read More...cricut.com/setup Machine

How To Create Stencils On Cricut By Your Own Design?

You must have a favorite quote or saying you would love to use somewhere. Cricut gives you a chance to do it. Hence, this section will discuss stencil making from scratch with our amazing Cricut machine. So, are you ready to learn? Let’s go ahead.

Type In Your Quote

Start with the text you want to print. Select the text box from the left side of your Cricut Design Space and continue with the design. The top bar shows a few other features, such as font size. After clicking the font dropdown, it will display all fonts created by you and Cricut. There is also a tab known as system; when you click that, you can only see your fonts.

Using one text box per line is convenient and makes enough space between words. So, what I wrote is “it’s so good to be” in corbel font, which was already available font on my computer. Once you are done with your first line, click the text box again. Then, a new box will appear. Now type your next line or word. So, my first line was “Home” in Magnolia Sky font, which I purchased.

Ungroup And Weld Your Script Text

If you observe, in Design Space, every font has separated letters; we need to ungroup them and move them. For this, keep your text selected and click on the ungroup button at the top right of your Design Space. And then, you will see a layer panel notifying you that all the letters are separated now. And then, you can click and drag each letter anywhere you want. Ensure the letters look natural and overlap each other.

So, as you can see, the script letters are close enough. However, the layer panel on the right side still shows them individually, but we want them together. To fix this, we need to weld out the text.

To do this, select your script text, and a box will appear near this. On that box, click on the weld option in the bottom right corner.

Arrange Everything Together

Hence, you can arrange your text the way you want. In my text, I made “Home” enlarged and the rest text small. Once your text is arranged, you have to attach them together. How will you attach them? First, highlight all your text and then click the attach button which you have selected on the bottom right corner of your screen.

After that, they will move together whenever you click and drag them. And voila, you have created your stencil design. However, it takes a little more effort to make it a stencil. Have a look at it too.

How To Make A Stencil Out Of It?

This section covers the final way of creating a stencil. So, move ahead and go to the left toolbar of your Design Space. From there, click on shapes and select a square.

Once your square pops up on the bottom left, click on the little rock to unlock the proportions. Hence, you can expand it to a rectangle. Then, lift your box to the top left of your design and expand your box to cover the whole text box or design.

If the box stretches more than required, right-click the box and select “move to back.” This will bring your design to the previous state, and a box will appear behind the text.

You can also change the box color from black to something if you don’t like this color or are unable to work with this. For this, select the little circle on the layer box near the object you want to change the color of. Unless you are comfortable working on it, don’t switch the color.

Adjust your Stencil’s size

While stretching the text box to a rectangle, extend it to the exact size your project demands so that it will match your project. For example, if you want to paint a board, make it your rectangle up to 10″ X 8″. Once you are done, align the text to the center. When everything is fine, you need to attach it together. To attach, select the text. Begin from the corner and hold down the mouse key while moving your design. When the full text is covered in the blue box, click the “attach” button at the bottom right toolbar.

Once you attach everything, the lines show that the machine will cut. Then hit the “Make It” button.

Then, the Design Space will convert it to the cutting mat and alert you if the design is large than enough. Ensure that your design is at least 1.2″ smaller than the cutting mat. Otherwise, your Cricut machine will not cut it correctly.

Now, place the mat into your Cricut machine and click the “Start” button. When the cutting is done, remove the excess vinyl from the rectangle. You can also use your weeding tool to remove the vinyl from the letters. Keep the vinyl in “o” and “e” letters.

And now you are all set to transfer your design onto your project.

Conclusion

I hope you are all clear on how to create stencils on Cricut. Aren’t you? Making a stencil out of Cricut is nothing too serious. I have enjoyed doing stuff over Cricut. After all, it seems worth it, right? So, get started with your Cricut machine and create stencils from a quote or saying you like the most. And be ready for the new post too soon.

SOURCE: How To Create Stencils On Cricut

If you’re a person who struggles with weeding, BrightPad will surely help you to get the best finishes in your designs. It’s not the first time that Cricut launched BrightPads introduced. BrightPads were introduced years before, but it has been out of stock for quite a while since Cricut discontinued the product.

Now that the cordless Cricut Bright Pad Go has come, you can do all sorts of things with this product, like weeding vinyl, tracing, sketching, etc. People planning to buy must have many questions about the Cricut models. Don’t you worry, you have come to the right; we will explain everything in our complete guide about BrightPad.   

What is Cricut BrightPad used for?

Many people have no idea what is the use of BrightPad. An illuminated digital workspace screen helps you see the most intricate details of your arts and crafts projects. 

Cricut Bright Pad helps you do everything better as you get to see the slightest and slightest of details. From tracing to weeding vinyl and iron, from paper piecing quilt blocks to model building, BrightPad does it all with so much accuracy.

Read More...Cricut setup for pc

Features of Cricut BrightPad

Some of the exciting features that set BrightPads apart from the competition are as follows:

  • Nonslip bases of BrightPads make it comfortable to use.
  • It comes with One Touch button controls.
  • It’s lightweight.
  • Super Slim makes it easy to fit in hands (6.3 mm & 8.5 mm).
  • Cricut BrightPad comes in two colors, i.e., White and Indigo options.

Should you consider buying other Light Boxes and Light Pads

There are many options in the market, but the Cricut Bright Pad’s bright screen makes it apart from the competition. The screen of the BrightPad is hard because it is meant to resist the sharp point of the weeding tools.

The Cricut Bright Pad is made with Polycarbonate material whose hardness levels range from (4H to 6H) while other competitors’ screens are made with Acrylic and don’t have much hardness and resistance.  

What are the differences between Cricut BrightPad and BrightPad Go?

Here is the list of the major key points and major improvements in BrightPad Go which are as follows:

  • Cricut Bright Pad Go is cordless with a rechargeable battery.
  • It has a better battery with 2 hours of battery backup and can go up to 12 hours at lower brightness levels.
  • Cricut Bright Pad Go has five 5 LED brightness settings, whereas its predecessor Cricut Bright Pad only came with 3 LED brightness settings.

Final Words

In this Blog, we have discussed every detail about Cricut BrightPad, and BrightPad Go. For a beginner who had never heard about Cricut BrightPad, a person who was confused about purchasing must have cleared all their doubts after reading our Blog. We have also included Frequently Asked Questions (FAQs) in our final section, which includes every doubt you may want to ask about the Cricut BrightPad.

Frequently Asked Questions (FAQs)    

Is the Cricut BrightPad Go worth the purchase or upgrade?

When we compare both the models Cricut Bright Pad and the superior model Cricut Bright Pad Go, there are a lot of similarities as the functionality is almost the same. The major features of BrightPad Go, which are not present in the BrightPad, are as follows

  •  Even lighting with the hard scratch resistance display surface.
  •  Five brightness levels up to 4200 lumens.
  •  Nonslip back surface for comfortable holding in hands.
  • The screen size of 11.5 by 9-inch surface area. 

Can we draw on the Cricut BrightPad Go?

Cricut Bright Pad is used for multi purposes like Tracing, Weeding Vinyl, Sketching, and Diamond Painting.

What comes in the Cricut BrightPad Box?

When you purchase the Cricut BrightBox, the following content comes in the box:

  • Cricut BrightPad
  • USB Power Cable (6 ft length)
  • Wall Adapter (with BrightPad Go only)
  • Paperwork (Product Guide, Warranty Card, Safety Card)

How To Use a Cricut BrightPad

Using BrightPad is very easy; you have to put your vinyl or any material you want to use on the lighted surface of the BrightPa and click on the power button to turn on the screen and do what you want to perform with the help of tools.

Does Cricut BrightPad require plugged in all the time?

If you’re using Cricut BrightPad Go, you don’t need to use the plugin since it comes with a battery, but BrightPad needs to be plugged in all the time.

SOURCE: Cricut BrightPad: Everything You Need To Know About It


There may be various reasons why Cricut Design Space won’t open on my Mac. You have come to the right blog; we will discuss all the possible troubleshooters with their solutions.

There may be many reasons why Design Space won’t open on your Mac; that might be because of using an outdated version of Design Space or any security settings of your Mac preventing the installation, and many more.   

Using Outdated Version

Using an outdated version of Cricut Design Space may be why your Design Space is not working/showing a blank screen. So, If you’re using Design Space version 6.11 or older version, the Design Space version screen must be blank and won’t be showing anything. You can install the latest version of Design Space to resolve this issue. All you need to do is uninstall Design Space and reinstall the official website of Cricut, “design.cricut.com.” Here are the steps you can follow to Install Design Space on your Mac:

  1. Go to the official website of Cricut, “design.cricut.com.”
  1. You will see Download options for Mac; click on the Download.
  1. It will take a few minutes to download depending upon your Internet Connection.
  2. After Cricut Design Space is installed on your Mac, go to the downloaded file and open the file.

It will install and add the app to your launchpad. Refer to our “Security Settings of Mac Preventing Installation” if you have blocked third-party applications accessibility. 

Malware Attack 

Cricut has detected issues related to Malware in their application which Cricut does not yet resolve. We hope they will resolve this issue soon since they have acknowledged it and must be working on the resolution.

Man In The Middle Attack (MITM)

We have experienced that the HTTPS has been subject to Man in the middle attack (MITM) due to the websites with fake proxies and certificates. To verify this on your Mac, here are the following steps you can do:

1. Open Safari and go to www.google.com.

2. Click on the padlock icon beside the page address.

cricut.com/setup

3. A pop-up window will open; click on the Show Adress option.

cricut.com/setup

4. If you see the following message, “Go proxy untrusted MITM proxy Inc” there is a self-signed root certificate authority that the Mac trusts. 

cricut.com/setup

5. The Trusted Certificates list is in Keychain Access in the System Settings. To open the “list of trusted certificates,” go to Settings, search Keychain Access in Settings, and select System.

cricut.com/setup

If you find the same on your screen, there’s Malware suspected in your Mac. We tried scanning our system with different anti-virus software, but it could not detect any unusual behavior. We encourage the affected users to contact Apple Support for detailed investigation and resolution assistance.

Security Settings of Mac Preventing Installation

If you receive the following message, “Security Settings are Preventing Installation,” on your screen after installing the Design Space on your Mac.  

cricut.com/setup

Don’t worry; with some simple steps, you can resolve it by following the below-mentioned steps and changing the Security Settings on your Mac.

  1. Go to Settings on your Mac.
  2. Click on Security & Privacy and click on the Privacy column.
  3. After clicking on the Privacy column in Security & Privacy, you will find your Cricut Design Space in the list. Click on the tick option beside it to permit Design Access Space.
cricut.com/setup

Final Words

Most of the problems users face are because of the outdated version of their Design Space Application or because of their Mac privacy settings which prevent applications from accessing.

We have discussed all the possible solutions to why Cricut Design Space won’t open on my Mac. If you have more queries related to Cricut, please mention us in the comment below. We will be very happy to help you again.  

Frequently Asked Questions (FAQs)

How do I update the Design Space on my Mac?

Select the account menu in the upper left corner of the Design Space and then click on the Update Design Space.

Does Cricut Work with MacBook Air?

Cricut uses Design Space which is compatible with all windows and Mac. You can even use Cricut on your phone on iOS & android.  

Why does my Cricut app not open?

Sign out from the Cricut Design Space account and restart your device to resign in. If the problem still exists after restarting the device, try uninstalling and reinstalling the application.

SOURCE: Why Cricut Design Space Won’t Open On My Mac


Newer Posts Older Posts Home

SUBSCRIBE & FOLLOW

POPULAR POSTS

  • How to Install Cricut Design Space: All Devices Covered!
  • How To Use The Cricut Explore 2
  • Cricut Explore Air 2 Download: A Full Guide for Mac/Windows
  • How To Make A Stencil With Cricut [A Complete Guide]
  • Which Is The Best Cricut Heat Press Machine In 2022?
  • How to Make Stickers With Cricut for Beginners? [A Quick Guide]
  • What is Cricut Joy and How Does It Work?
  • How to Slice in Cricut Design Space? [A Complete Guide]
  • How To Use The Cricut Machine [Step By Step Guide]
  • How To Use Cricut Heat Press Guide [+ Instructions]

Categories

  • connect cricut to phone 1
  • cricut 7
  • Cricut App 3
  • Cricut Blade 1
  • Cricut BrightPad 3
  • cricut com setup 32
  • cricut com setup joy 2
  • cricut com setup mac 24
  • Cricut computer setup 1
  • Cricut Design Space 64
  • cricut design space app 5
  • cricut design space download 8
  • cricut design space software 1
  • Cricut EasyPress 2 3
  • Cricut EasyPress 3 2
  • Cricut Explore 3
  • Cricut Explore 2 3
  • Cricut explore air 2 10
  • cricut explore air 2 setup 1
  • cricut explore air 2 software 1
  • Cricut Explore Air 3 1
  • Cricut Heat Press 2
  • Cricut Joy 1
  • Cricut Joy app 2
  • Cricut Joy Cyber Monday 1
  • Cricut Joy Machine 12
  • cricut joy tools 1
  • Cricut Joy Xtra 2
  • cricut login 3
  • cricut machine 33
  • cricut machine setup 9
  • Cricut Machines 4
  • Cricut Maker 5
  • cricut maker 3 36
  • cricut maker 3 setup 8
  • cricut maker setup 19
  • Cricut Mat 1
  • Cricut mats 3
  • Cricut Mini Setup 8
  • Cricut New Year card 1
  • cricut setup 39
  • cricut setup download 1
  • cricut setup for mac 14
  • cricut setup for pc 26
  • Cricut setup on computer 3
  • Cricut Shirt Ideas 1
  • cricut software app 2
  • Cricut t-shirt ideas 1
  • Cricut Transfer Tape 2
  • Cricut Window Setup 23
  • cricut won't connect to computer 1
  • cricut.com setup mac 2
  • cricut.com/create 12
  • cricut.com/register 8
  • cricut.com/setup 58
  • cricut.com/setup app 1
  • cricut.com/setup joy 4
  • cricut.com/setup windows 13
  • cricutcomsetup 1
  • design.cricut.com 7
  • design.cricut.com setup 8
  • design.cricut.com/setup 5
  • how to install Cricut Design Space 1
  • how to make shirts with cricut 1
  • setup cricut maker 3 6
  • Silhouette Cameo 4 1
  • Smartphones 1
  • www.cricut.com setup 9
  • www.cricut.com/setup 19

Search This Blog

Powered by Blogger
  • October 20241
  • July 20241
  • May 20242
  • April 20242
  • March 20241
  • February 20243
  • January 20242
  • December 20232
  • November 20231
  • April 20234
  • March 20238
  • February 20238
  • January 20235
  • December 20227
  • November 202210
  • October 20228
  • September 20228
  • August 20224
  • March 20221

Report Abuse

About Me

My photo
Richie Remington
View my complete profile

Trending Articles

  • How to Install Cricut Design Space: All Devices Covered!
  • How To Use The Cricut Explore 2
  • Cricut Explore Air 2 Download: A Full Guide for Mac/Windows
  • How To Make A Stencil With Cricut [A Complete Guide]

Popular Posts

  • Which Is The Best Cricut Heat Press Machine In 2022?
  • What's The Difference Between Cricut Maker And Cricut Maker 3?
  • How To Change Cricut Blade? [Learn Here]

Labels

  • Cricut Design Space
  • Cricut Joy Machine
  • Cricut Machines
  • Cricut Window Setup
  • cricut
  • cricut com setup
  • cricut machine
  • cricut setup
  • cricut.com/setup
  • cricut.com/setup windows
  • cricutcomsetup
  • www.cricut.com setup

Distributed By Gooyaabi | Designed by OddThemes