Are you wondering how to use the Cricut Explore 2 and what it can make? This is the most asked question of all new users. This blog will solve all queries related to the Cricut machine. I expect you to scroll down and read it carefully.
Cricut is the most popular cutting machine that cuts 100+ materials in just a few minutes. We will give you information such as what you can make with this machine. You can also learn a few easy and wonderful projects for beginners as well as professionals that you can try to make yourself.
So without wasting time, let’s jump to the next section of this blog to get complete information.
Read More...Cricut explore air 2 setup
What is Cricut Explore 2?

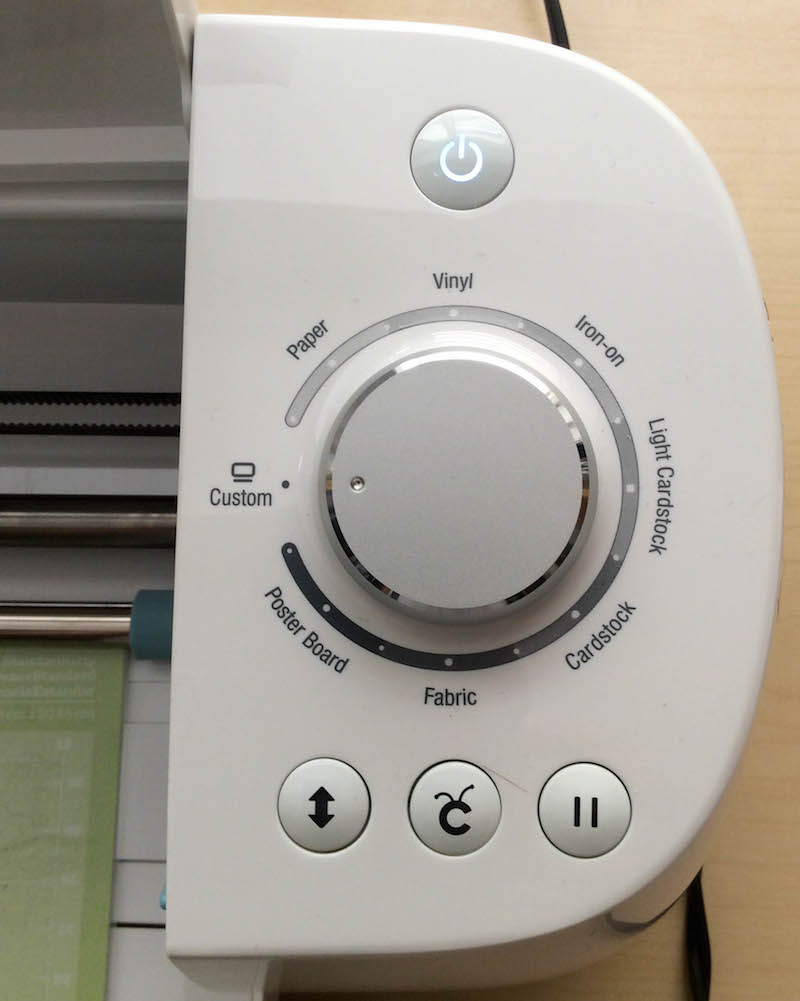
Shortly, the Cricut Explore 2 is the latest creative machine that writes, scores, and cuts a variety of materials. You have to download and install the Cricut Design Space, which can open you to use the 3,000 ready-to-make designs. You can also create your own design with the help of this software. The pre-design projects provided have all the needed information you require while using it with your task.
This machine also has a cloud-based system, which means that you can use the Cricut Explore 2 from anywhere with your mobile, computer, laptop, or tablet. If you use the Cricut Access Standard, then you get unlimited access to over 30,000+ images and 370+ fonts.
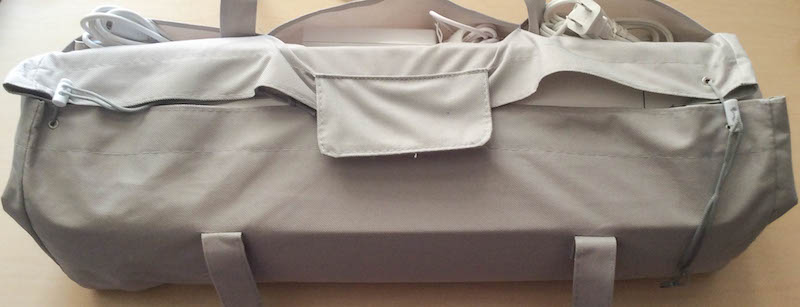
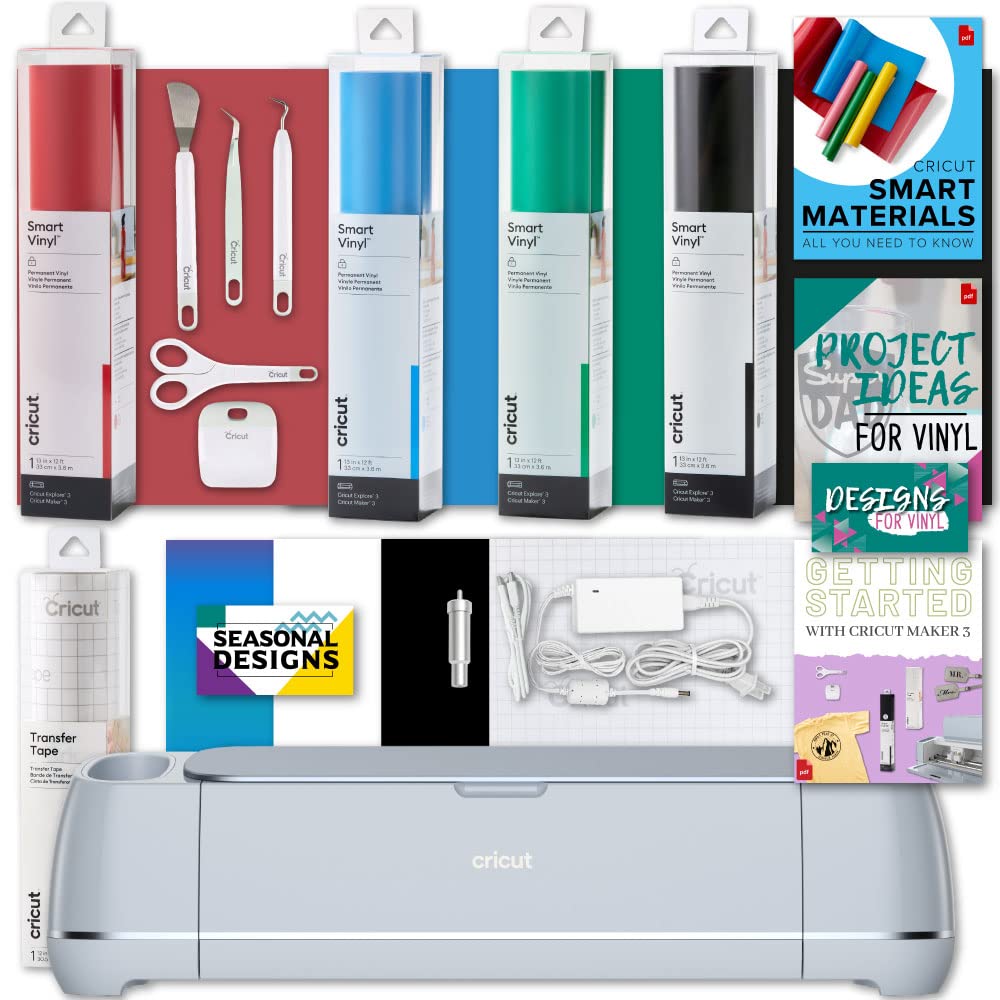
What Do You Get Inside the Cricut Explore 2 Box?

When you buy a Cricut Explore 2 that comes with your machine, there are a few things. It is necessary to have all the items in the machine box. Below are the names of items with your Cricut machine package. Here is the items name:
- Cricut Explore 2
- Cricut cutting mat
- Cutting blade
- Accessory adapter + silver pen
- Instruction manual
- Vinyl + cardstock samples
- USB + power cords
- Cutting Scissor
What Can a Cricut Explore 2 Do?
There are various types of things that you have to make with your Cricut Explore 2 machine. In this blog section, you will learn several things that Cricut Explore 2 easily does. Here is the information:
Write
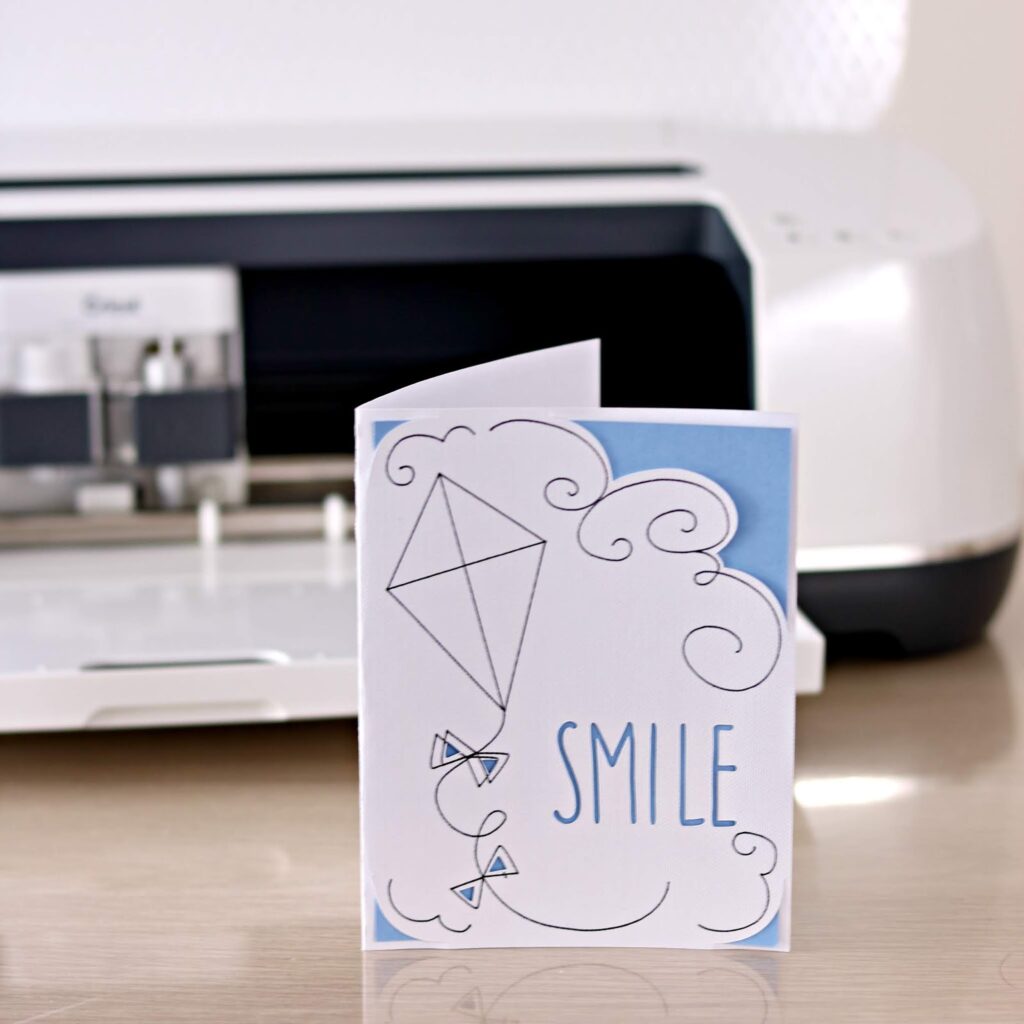
- Coloring pages
- Greeting cards
- Handwritten notes
- Stickers
- Place cards
- Cupcake toppers
- Many more
Cut
- Intricate designs
- 100+ various types of materials and items such as card stock, fabric, vinyl, vellum, and thick leather.
Score Perfect Fold Lines For
- Boxes
- Water bottle hang tags
- Cards
- Cupcake liners
- Place cards
- Hundreds more
Projects You Can Make Using Cricut Explore 2
You can make amazing and various types of projects with the Cricut Explore 2 machine. You just need to have the proper knowledge to make all these designs. In this blog section, you will learn some common projects you have to make with your machine. Here is the projects name:
- Planner stickers
- Labels for everything
- Baby shower invitations and decor
- Signs
- Mugs
- Gift and bottle tags
- Paper flower wreath
- Pillows
- Greeting cards
- Customized notebooks
- Baby onesies
- T-shirts
- Coloring pages
- Scrapbook pages
- And so much more
Simple Steps to Download and Install Cricut Design Space
In this portion of the blog, you will learn how to download and install the Cricut Design Space on your Windows system. If you want to use the Cricut Explore 2 machine in a positive way to get efficient results, this section is good. So let’s start learning the steps of downloading and installing the process of the Design Space. Here are the steps:
- First and foremost, go to the web browser and then enter design.cricut.com. Hit the enter key.

- And then, you have to select the Download button on your screen. Now, the screen will change and show the downloading progress.
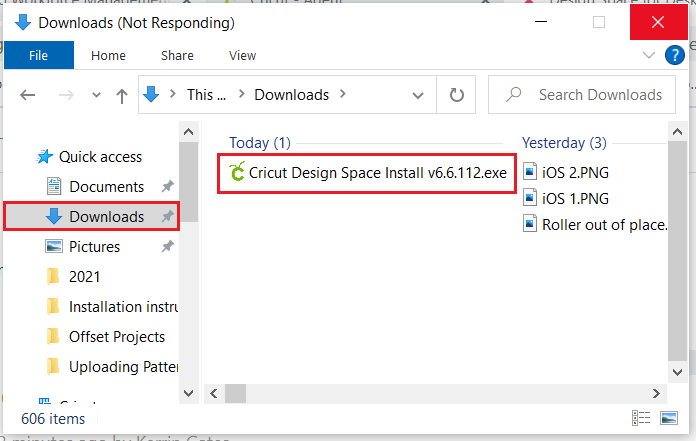
- Once the downloading is completed, you need to double-click on the downloaded file on the browser download page, or you have to click on the file from the Download folder.

- And when it prompts you to ask the trust, click on the trust option.
- Now, a window will open on display, showing the application’s installation progress.
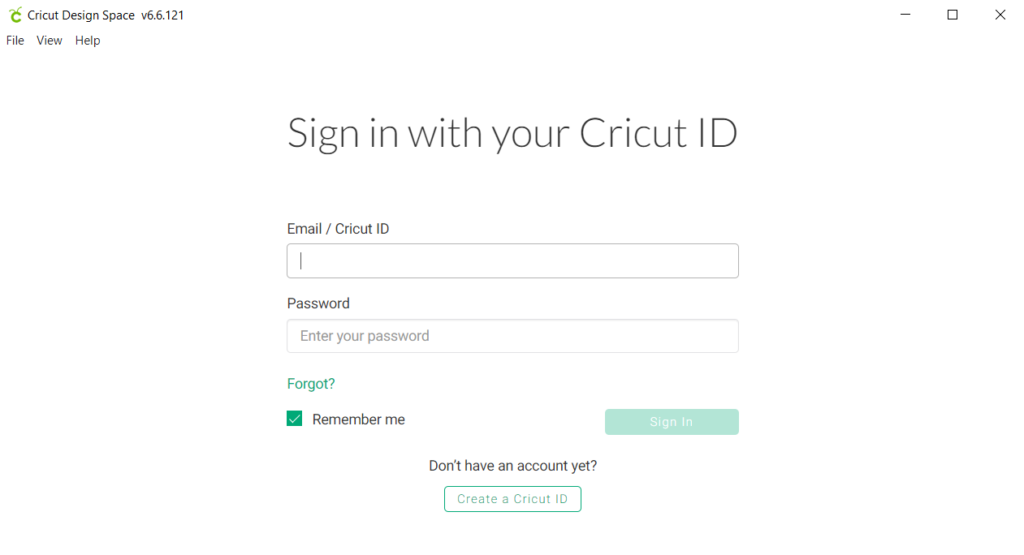
- Next, you have to click on the sign-in button from the open page of the Cricut Design Space.
- Type the Cricut username and password and hit the enter button to sign in.

- And then, a Cricut Design Space icon is shown on your computer display. Now, you have to right-click on the icon and then move it to the Taskbar or Pin to the Taskbar.
- Finally, the Design Space is ready to use with your Cricut Explore 2.
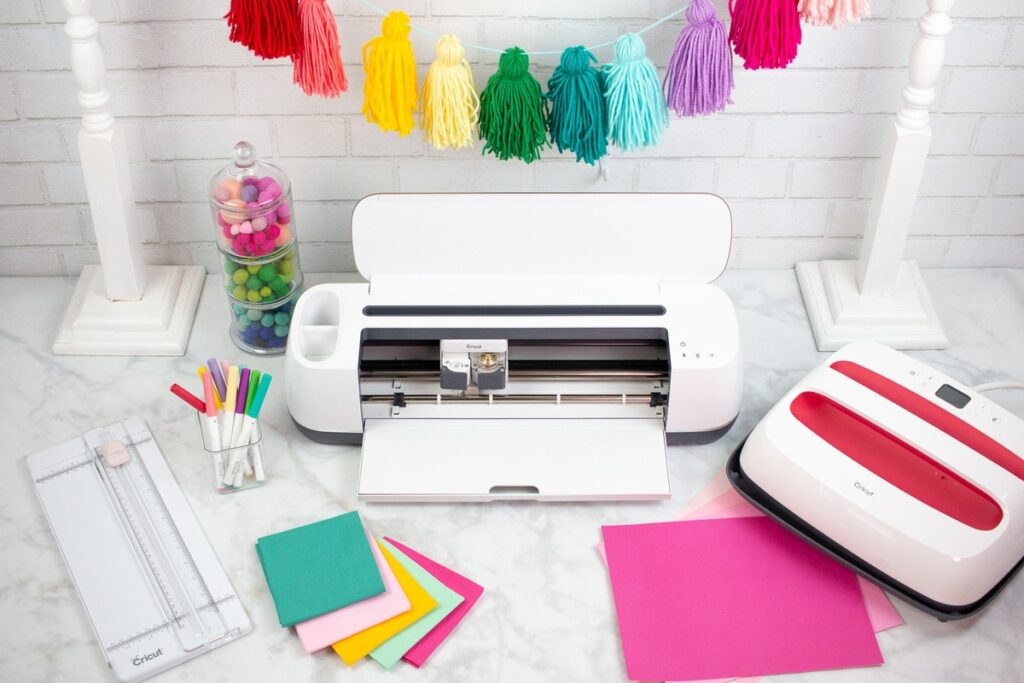
Easy Steps to Flawless Work with Your Cricut Explore 2
In this section of the blog, you will learn how to use the Cricut Explore 2 in an easy way. Read this complete section to learn how to use the Cricut machine flawlessly. All you need to do is follow each and every step which is given under this selection. Here are the important points:
- Initially, take your package to the location and unbox the machine.
- Now, peel off all the material and tapes from the machine.
- Follow all the steps and tutorials based on Cricut Explore 2.
- Also, learn how to use the Design Space for the best results.
- Start making easy and simple designs and then gradually jump to the more complex project.
- Gain complete knowledge and information, then move to another material.
- Always select the thing that you like the most.
- Keep in mind that always use the mat to create amazing designs and shapes.
- You can use this machine to draw and cut at the same time. It means that you can complete your task much earlier and faster.
- Always utilize the accessories and tools such as Easy press and bright pad that help you to do professional work.